


Clear coat restoration DIY kits allow homeowners to revitalize protected surfaces on cars, furniture, and flooring by repairing environmental damage. Our review simplifies kit selection, focusing on ease of use, material quality, and effectiveness. The process involves surface preparation, using specialized products, and applying protective coatings like sealers or ceramic coating in thin layers after proper drying. Patience is essential for optimal results, ensuring a glossy finish and prolonged paint longevity.
Revitalize your vehicle’s finish at home with top-rated clear coat restoration kits. This comprehensive guide covers everything you need to know about clear coat restoration, from understanding the basics to choosing the best kit for your needs. We review the top-performing kits available and provide a step-by-step tutorial to ensure optimal results. Discover how easy and effective clear coat restoration can be, allowing you to achieve a showroom shine without professional help.
- Understanding Clear Coat Restoration: The Basics for Homeowners
- Top-Rated Kits for Clear Coat Restoration: Our Comprehensive Review
- Step-by-Step Guide: How to Use a Clear Coat Restoration Kit Effectively
Understanding Clear Coat Restoration: The Basics for Homeowners
Clear coat restoration is a process that involves repairing and rejuvenating the clear protective layer on various surfaces, commonly found on cars, furniture, or even flooring. This topcoat is crucial for safeguarding the underlying material from environmental elements like UV rays, chemicals, and wear and tear. Over time, this clear coat can become scratched, clouded, or faded, impacting the overall appearance and value of the asset.
For homeowners looking to restore their belongings, understanding the basics is key. The process typically entails preparing the surface by cleaning and decontaminating it, then repairing any damages or imperfections with specialized products. This might include filling scratches, applying a clear coat sealer, or even resorting to ceramic coating for enhanced protection, similar to what’s seen in car customization and ceramic window tinting. By taking on this project at home, homeowners can not only save costs but also gain a deeper appreciation for their possessions.
Top-Rated Kits for Clear Coat Restoration: Our Comprehensive Review
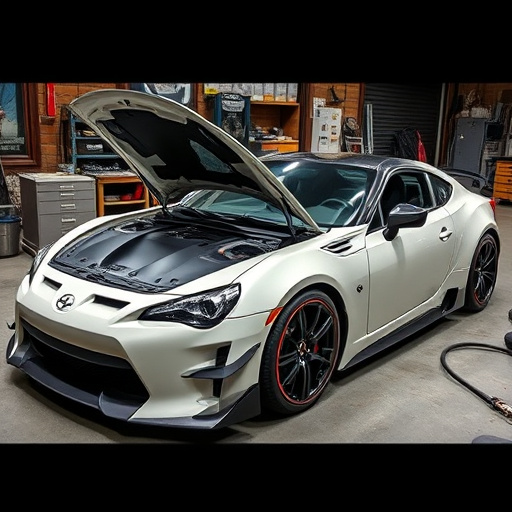
When it comes to top-rated kits for clear coat restoration at home, there’s a wide array of options available, each promising exceptional results. However, navigating through these choices can be overwhelming. Our comprehensive review aims to demystify this process by analyzing the most highly-regarded kits on the market, considering factors such as ease of use, quality of materials, and effectiveness in restoring your vehicle’s clear coat.
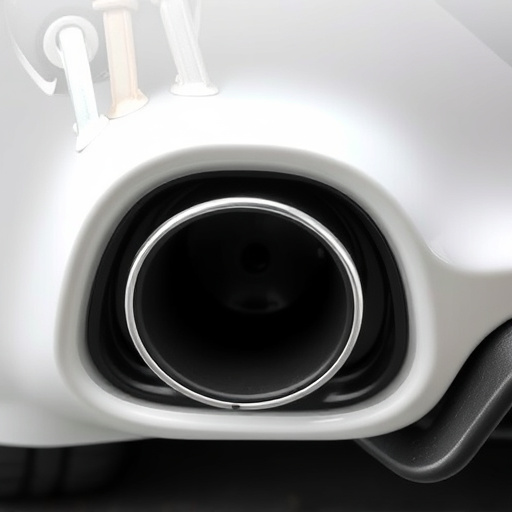
These kits typically include everything needed for a thorough restoration: from abrasives and cleansers to topcoats and applicators. We’ve found that the best kits integrate advanced technologies like ceramic window tinting, offering not only superior protection against UV rays but also enhancing the overall look of your vehicle through automotive detailing. Remember, proper clear coat restoration isn’t just about aesthetics; it’s a layer of defense for your car’s paint job, ensuring longevity and maintaining its glossy finish, thus providing optimal vehicle protection.
Step-by-Step Guide: How to Use a Clear Coat Restoration Kit Effectively

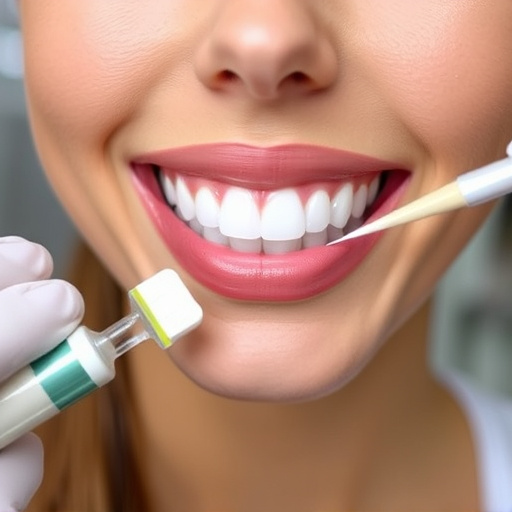
Using a clear coat restoration kit at home can be a straightforward process if you follow a simple step-by-step guide. First, ensure your workspace is well-ventilated and gather all necessary tools provided in the kit, including applicators, brushes, or pads designed for clear coat application. Begin by preparing the surface: wash and dry the area thoroughly to remove any dirt, grease, or debris that could hinder the coating’s adhesion.
Next, apply a thin layer of the clear coat using the designated applicator. Work in small sections, ensuring even coverage. Allow the first layer to dry according to the manufacturer’s instructions. Once dry, inspect the surface for any imperfections and gently sand if needed to create a smooth base. Apply additional layers, following the same process, until you achieve the desired shine and protection. Remember, patience is key; allowing adequate drying time between coats will ensure the best results.
Restoring your car’s clear coat at home doesn’t have to be daunting. With the right tools and a bit of know-how, you can achieve professional results. By understanding the basics of clear coat restoration and choosing one of the top-rated kits available, you’re well on your way to giving your vehicle a fresh, glossy finish. Follow our step-by-step guide for optimal results and enjoy the satisfaction of a job well done. Remember, proper care and regular maintenance will keep your car’s paint looking its best for years to come.